Our feet go through a lot of pressure. When we run or exercise, our feet take the entire weight of our body. It is our living punch bag. It’s worse when we force them inside high heels, block heels, office shoes and so on.
If you are diabetic, your feet are liable to foot sores, numbness and more importantly pain. Yes, the pain is horrible! There is no real solution to the pain and painkillers are not the solution. Many diabetics get accustomed to the pain until it becomes numb – which isn’t good either.
Why Do We Get Foot Pain?
As those with diabetes, you often get foot pain because your feet aren’t getting enough blood supply. If you do Yoga correctly, you may relieve some of the pain by encouraging blood flow to the troubled parts of your feet.
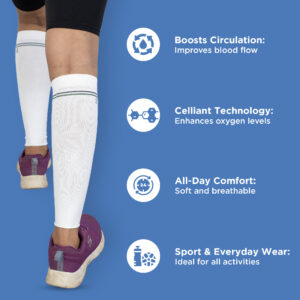
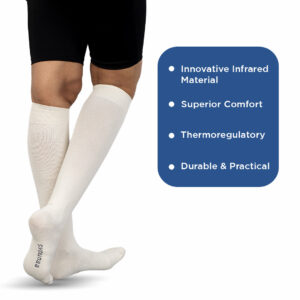
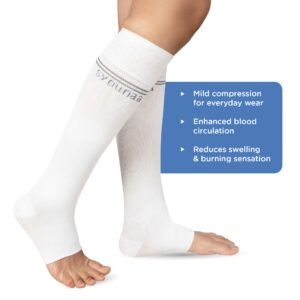
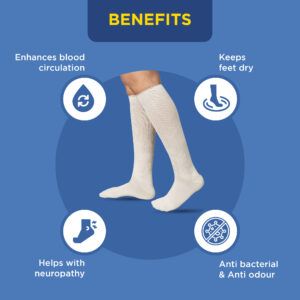
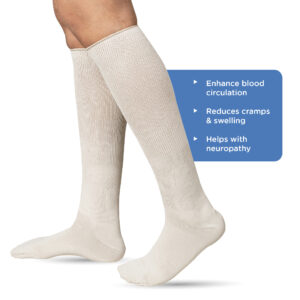
Other things that can help your feet include foot massage and diabetic socks that encourage blood flow. A combination of these three – yoga (and/or other foot exercises), foot massage and diabetic socks can not only reduce foot pain but help you regain some functionality that you may have lost earlier.
Yoga Poses For Foot Pain
Yoga is one of the best ways to relieve foot pain because it lets you work on all your foot muscles and joints. It’s a slower form of workout which helps you get strength and stability around your feet.
So let’s have a look at these 6 yoga poses for foot pain.
1. Talasana
Talasana, or the mountain pose, is good for the heels and the plantar fascia. Stand with your feet apart pointing outwards. Take a second to acknowledge your feet – the plantar fascia muscles, your toes etc.
Usually, when we have foot problems we tend to hold our feet differently. Some put pressure on the inner soles of their feet while others put pressure outwardly. Take a second to notice how your feet rest on the ground.
Is one side of your feet more pressured than the other? If you feel you are naturally adding pressure inwards or outwards, try to ease it out by pushing in the opposite direction.
Now you’re ready to do Talasana:
- Stand with your toes stretched apart; keep arms relaxed at the sides and chin parallel to the ground
- Inhale deeply and exhale
- On your next inhalation gently raise your heels and go on your tiptoes.
- Simultaneously, raise your hands on either side. The palms should be facing each other.
- Hold your breath in that position
- Exhale while bringing your hands and heels back down.
- Come back to the original position
- Repeat the exercises a few time
- Repeat 4-5 times
2. Vrkshasana
Vrshasana, or the tree pose, improves balance and strengthens your feet. You may do it in front of a wall for support and as you gain more stability you can slowly move away from the wall.
Here’s how you can do Vrkshasana:
- Stand with your toes stretched; relax. Your feet can touch each other at the heels.
- Bring your left foot to the side, bend your left knee and position your left foot on the inside of your right thigh. Remember, the heels should be relaxed and touching your right thigh.
- Join your arms in front of your chest in a namaskar position.
- Inhale, stretching your arms towards the ceiling
- Bring your stomach in, hold your breath
- Exhale bringing your arms in front of your chest
- Slowly take your feet down
- Repeat the exercise with your right foot
- Repeat 4-5 times
3. Virasana
The Virasana or the Heroes Pose gives your feet a good stretch, particularly around the ankle joints. It may be difficult for those with stiffer hips but there are variations to make this pose a little easier.
Here’s how you can do Virasana:
- Begin by sitting on the floor with your back straight and your legs straight in Dandasana; you should look like the letter ‘L’
- Pull your right leg back and rest your ankle beside your right buttock. Your toes should be pointing outward
- Repeat the same with your left leg.
- Take a few deep breaths in this position
- If your knees or hips feel too uncomfortable in this position, or, if your buttocks can’t touch the matt, use a cushion to elevate your hips and support your back
4. Vajrasana
Vajrasana is like a prequel to the toes pose, which is also included in the article. It relaxes the bottom of your feet and your calf muscles. Vajrasana is also great for your lower abdomen. Many do this pose after a meal to facilitate digestion.
Here’s how you can do Vajrasana:
- Begin by sitting with your knees folded and your buttock resting between your feet.
- You can adjust your position to make it comfortable on your feet
- Take a few deep breaths in this position
5. Toes Pose
The Toes Pose is a great progression to the Vajrasana. It stretches the bottom of your feet and relaxes the plantar fascia.
Here’s how you can do the toes pose:
- Begin by sitting with your knees folded and your buttock resting on the soles of your feet.
- Tuck your toes under your heels and lift your heels up
- Take a few deep breaths in this position
- If it’s hurting on the soles of your feet you can bring your palms forward to relieve some pressure. But we’d urge you to gradually raise your back and sit straight.
6. Adho Mukha Savasana
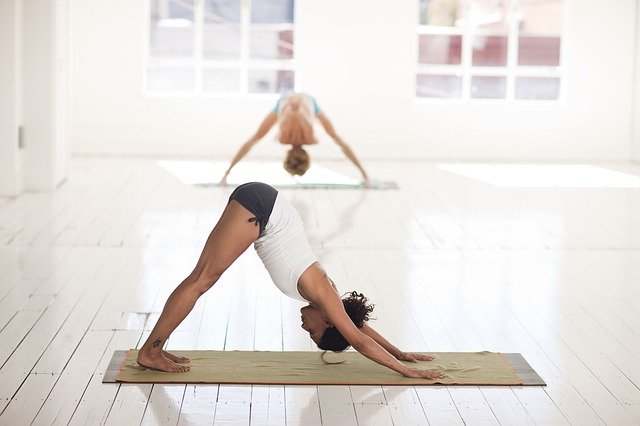
Adho Mukha Savasana, or downward-facing dog, is an excellent exercise for the feet. It stretches your calf muscles and the back of your heels allowing you to relieve tension. By stretching the stiffer parts of our body we allow blood to circulate in sore areas.
Here’s how you can do Adho Mukha Savasana:
- Begin by sitting with your knees folded and your buttock resting on the soles of your feet.
- Come forward with your palms perpendicular to your shoulder and knees perpendicular to your hips.
- Tuck your toes under your heels and lift your heels up
- Take a deep breath and raise your hips; your knees can bend at first
- Straighten your shoulders and push your palms on the mat
- Exhale
- On your next inhalation, straighten your knees
- To come back from the position you must bend your knees bring your buttocks down and release your ankles so that they can rest on the soles of your feet.
We hope these poses are helpful for your diabetic foot pain. Remember, Yoga is all about respecting yourself. So all the poses mentioned above have variations to help you benefit from the poses without hurting yourself.
Joint pain or discomfort from the poses may indicate incorrect posture. If the problem persists, we suggest you speak with a trained yoga instructor who can give you instant feedback on all your Yoga poses.

